My intention for this blog being to catalogue the battles of Olde Albilande throughout its history i thought i would begin by using the new infomation to refight the first true engagement of the war, namely Rippletons Mound, using my 2mm medieval collection.
The battlefield, the titular mound in the top left.
The battle saw the forces of Bolted Crevice allied with the Troops of Dripping Tipp and Wrippin Pines advancing on the Mound that was occupied by the sheriff of Dawkinsholme along with allied troops from Blotchy. The intention of the Lord of Bolted Crevice being to take the mound and surrounding area to force a path to Dawkinsholme itself.
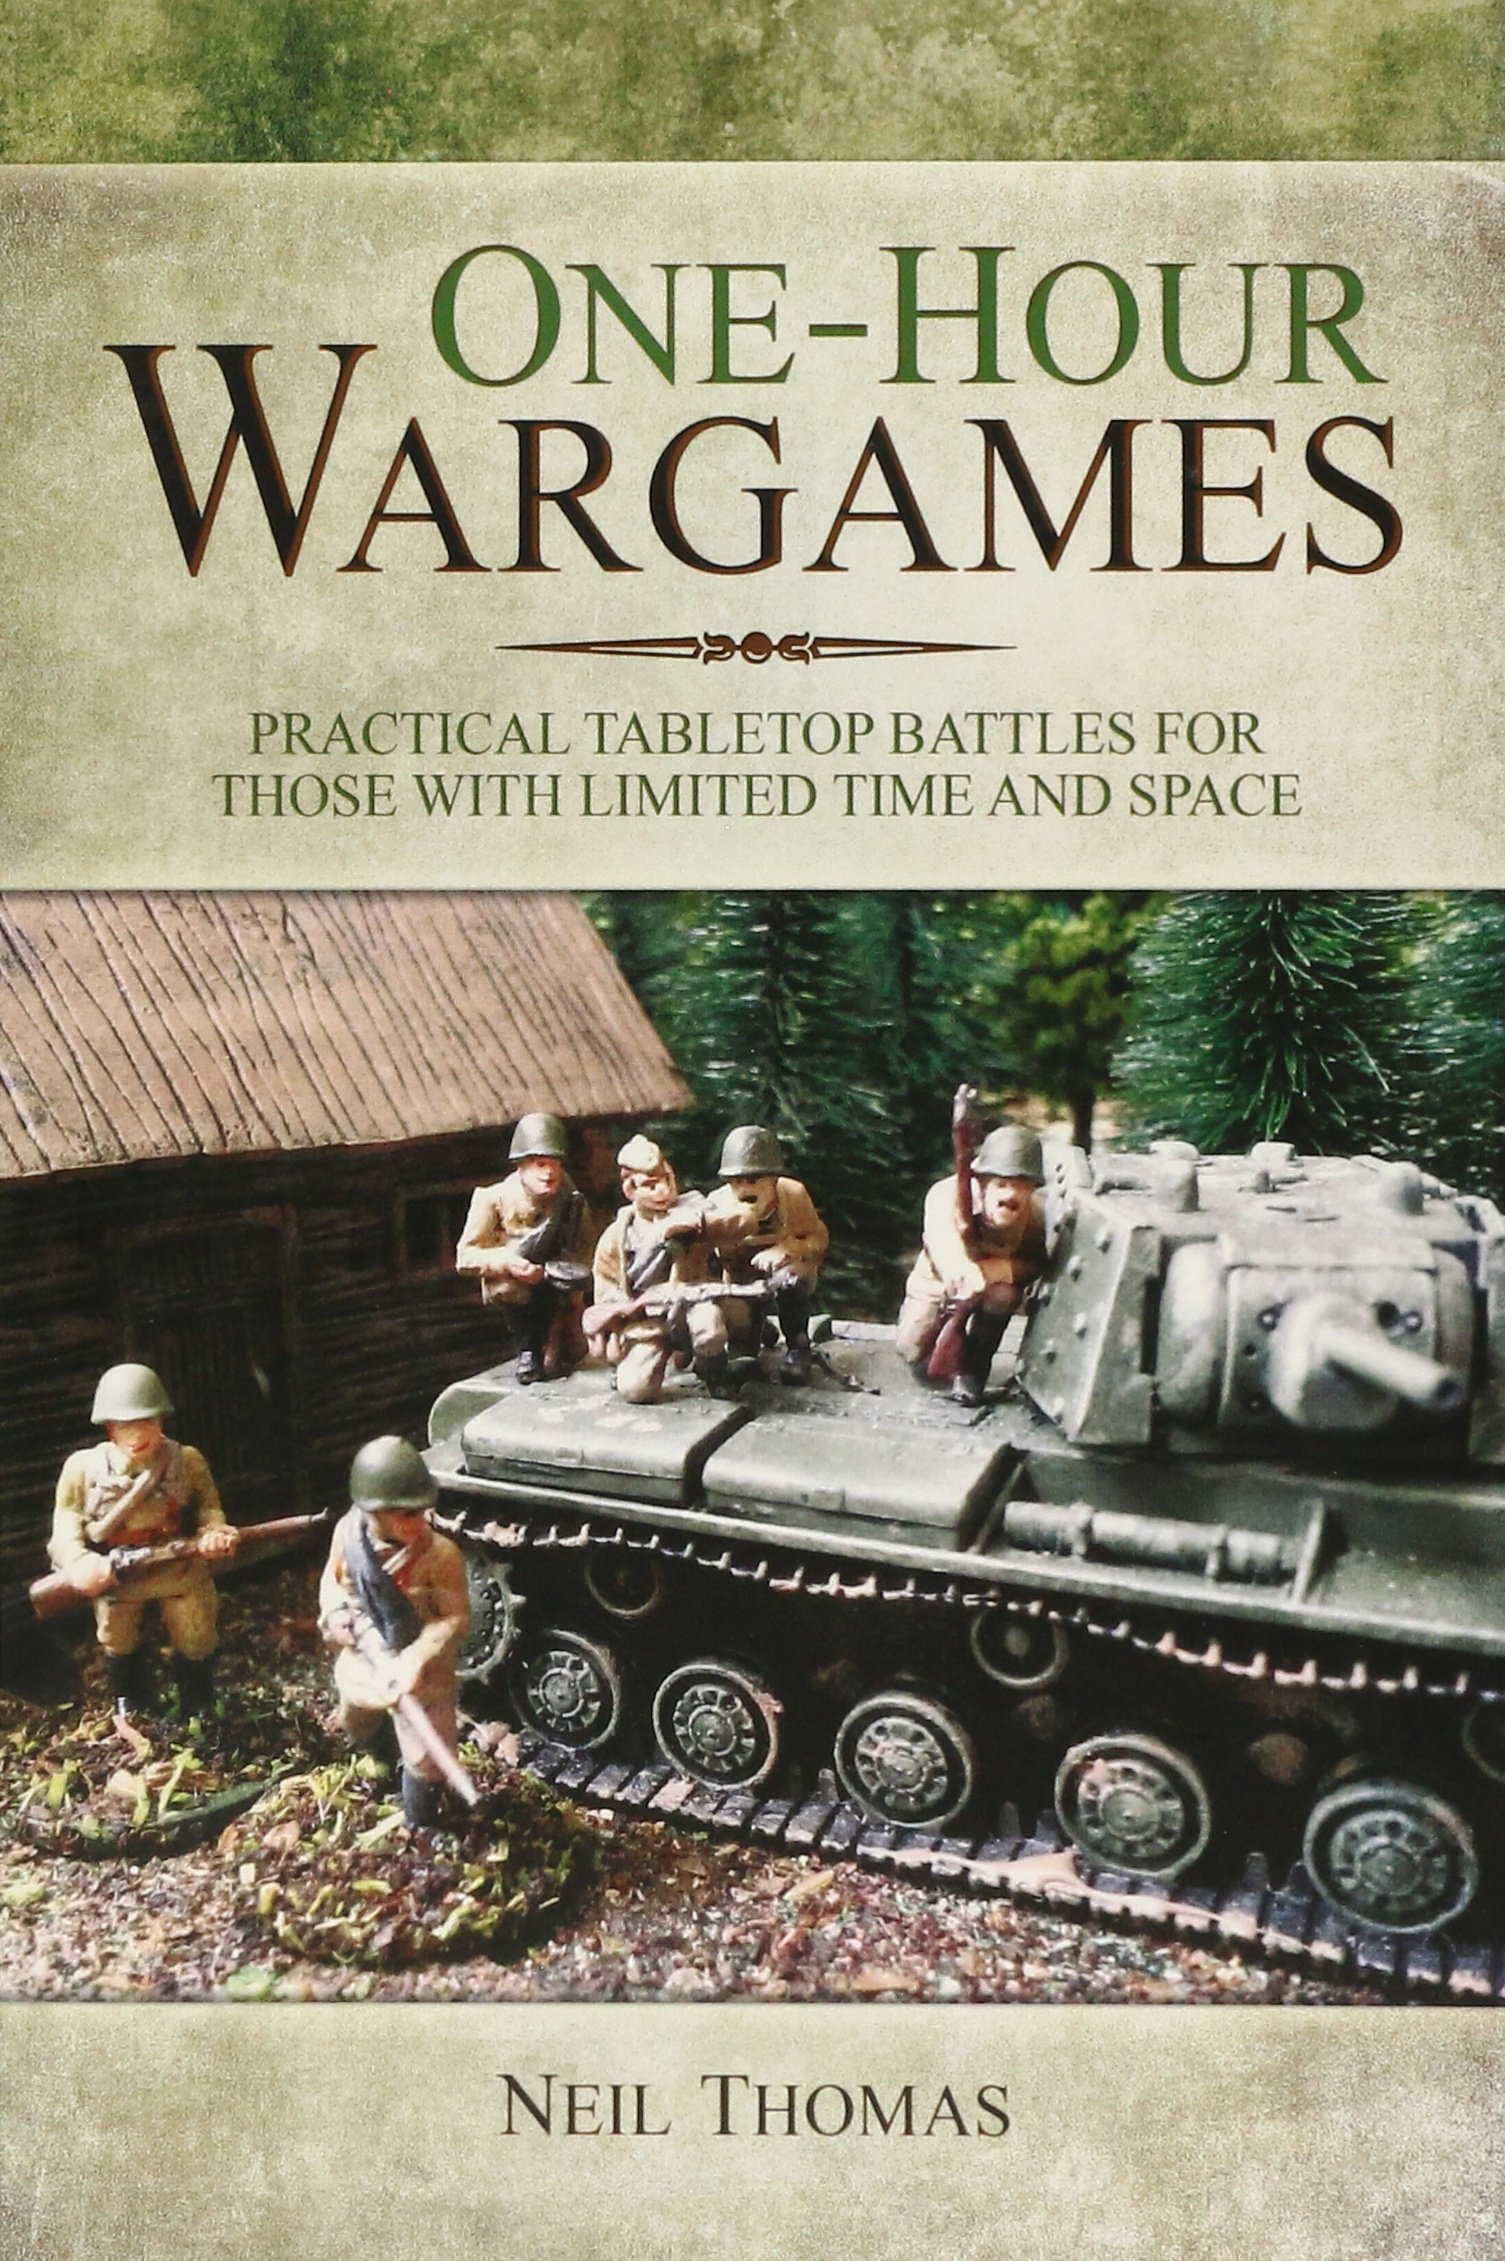
To play out the battle i will be using a modified version of these rules:
Basically i am using the medieval rules (with added dark age cavalry) with a mucked about with turn sequence, simultaneous combat and unit and army morale rules. I will post my version of these rules soon. As stated above i am using 2mm forces for this game. To help with unit identification i use painted base edges to show which army they belong to (blue or white) and what type of troops they are:
Heres a unit of Knights demonstrating the above.
The unit in the picture is facing forwards, so as you see the unit on the table the painted edges will be at the rear. As you see them in the pictures throughout the game the army colour will be on the right rear edge and the unit type will be on the left. Speaking of which the unit types are as follows:
Knights: Gold
Cavalry: Yellow
Men at arms: Silver
Leve: Red
Archers: Green
The forces deployed for battle, The army of Dawkinsholme at the top (white) and the army Of Bolted Crevice at the bottom (blue).
The Knights of Bolted Crevice deploy on their left behind a screen of cavalry.
The center is held by units of Leve.
Archers anchoring the right.
The mound held by Dawkinsholme archers and men at arms, cavalry in reserve.
More Men at arms and Leve hold the ground in the center.
The battle began with the entire Bolted Crevice force advancing towards the enemy.
Blue Cavalry advance on the mound.
In response the Dawkinsholme archers peppered the enemy knights with arrows while the reserve cavalry charged a unit of their opposite numbers.
First blood!! (dice denote damage, skulls show a morale test is required)
To hamper the enemy attack further two units of leve were ordered forward to cut them off!
Scupperidge ho!!.
Undeterred the knights continue the advance!
While the battle lines clash!
Like so.
Leve charge cavalry at the base of the mound.
Causing the horse bothers to break and flee!!.
As do the other unit on the far left.
The Knights attack the archers on the mound, The Sheriff of Dawkinsholme leads his men at arms against one units flank!.
In the center no quarter is offered, let alone given!.
Until it is!.
On the mound the flanked knights flee.
Making life rather hard for the remaining unit!.
Soon they too are broken, ensuring the mound remains in Dawkinsholme hands.
Seeing the final nobility leg it the rest of their army decide to do likewise, the field belongs to Dawkinsholme!.
As we know this was far from the end of the matter despite the decisive nature of the victory, but that is for next time.


Really cool encounter - the foot troops were decisive. Great battle on the mound. Better put up a monument on it! Interesting to hear about your tweaks to the One Hour rulesi I have those too and would be keen to hear what you do. I'm working on 2mm ancients at the moment - but some medieval armies will follow.
ReplyDeleteThanks, the unwashed foot did hold out well against the nobility!. I will hopefully post my mods for 1 hour wargames soon.
DeleteGood to see those Nobs being chased off! Nice game mate.
ReplyDeleteTa Jack. The attack on the hill was pretty dire, never send a nob to do a man's job eh?.
DeleteLong live those infantry!!!
ReplyDeleteGreat action and the figures look superb.
Those rules sound very interesting.
Thanks sir, those infantry really did hold up well, I think the Knights may require a little more in the way of support next time!.
ReplyDelete