Friday, August 21, 2020

One Hour Wargames mods

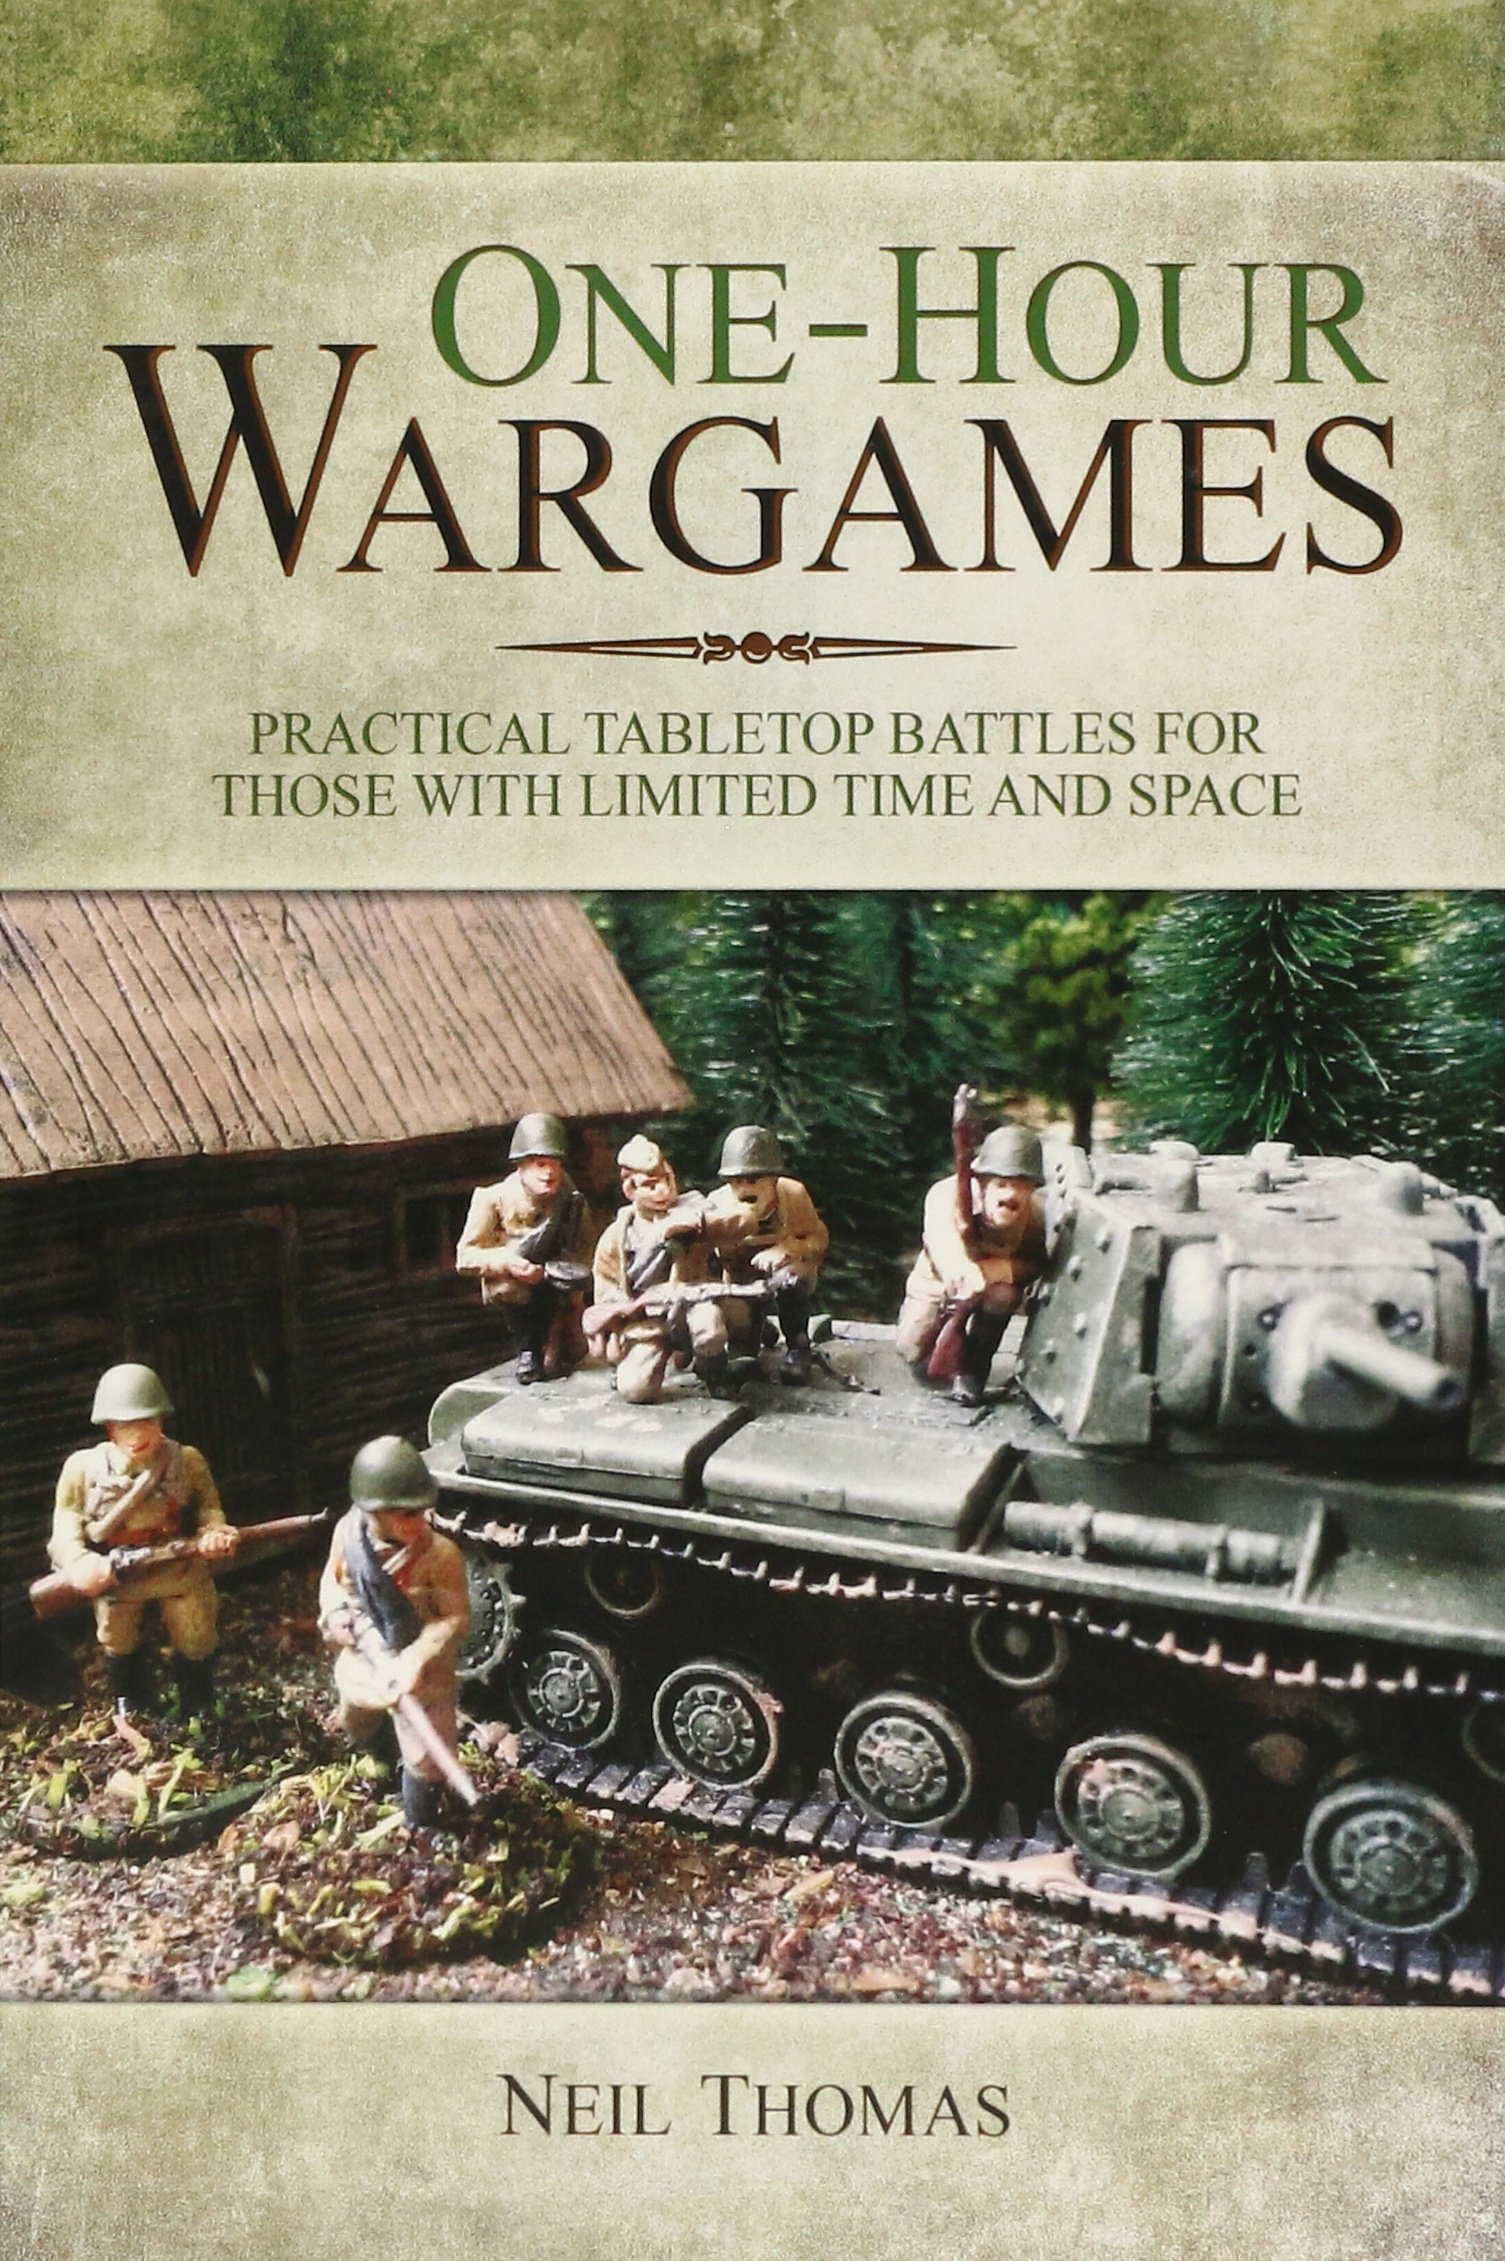
 Hello all. This post will be a break from the thrilling nonhistory of the land of Olde Albilande and insted i will show you the modified rules i have been using for my battle reports so far on this blog. I have used these beauties:

To run the games i have posted on here so far. The main reasons i like these rules is they are quick, simple, highly customizable and because im too lazy to learn anything more complex. If you want to follow what on earth i am going on about in this post you will need a copy of these rules to have any real clue.

 I like to muck about with them from game to game and am always tinkering away with ideas between play sessions. That being said there are a few things i like to include most of the time. As both reports i have published have used different mods i think it would be best to deal with them individually. However both do use the following:

Both games use the medieval section of the rules as a base...with a few other troop types from a few other periods chucked in.

The troop types i use are used 'out of the book' and are:

Knights, Men at arms, Leve and archers from the medieval section

Skirmishers, Warband and Cavalry from the Dark age rules

Artillery from the Horse and Musket rules.

I also use a points system to choose forces. This is because the rules below play better with larger forces than recomended in the book. Each unit is worth either 1 or 2 points:

Leve, archers, Skirmishers, Warband, Artillery and Cavalry are all worth 1 point.

Knights and Men at arms are worth 2 points. 

You may not spend more than half your points total on units worth 2 points. A good total cost for an average sized army would be 10-15 points in the smaller scale rules. For the Larger scale rules a total army cost of 20-30 points split into 3 battles of at least 6 points each.

All the rules are used as stated in the book unless directly contradicted here.


1)The Battle of Rippletons Mound...or rules for smaller scale games.

Rippletons Mound, bit of a to do really.

use the rules as written with the following changes:

Sequence of play

1; Both players roll 1d6, highest roll choses who goes first (will be player A) this turn.

2; Player A chooses between his Movement or Shooting phase.

3; Player B chooses between his Movement or Shooting phase.

4; Player A's Movement or Shooting phase (which ever he did not choose in step 2).

5; Player B's Movement or Shooting phase (which ever he did not choose in step 3).

6; Hand to hand combat.

7; Morale Phase.

Movement rules remains unchanged.

Shooting rules remain unchanged with the exception of Archers no longer adding +2 to their attack dice.

If a unit recieves hits from shooting they must have a marker placed next to them to show they need to make a Morale check in the morale phase. Units only ever recieve one such marker per turn.

Hand to hand combat remains as written except both sides roll attacks at the same time in each combat.  The unit in each combat that recieves the most hits that turn must  have a marker placed next to them to show they need to make a Morale check in the morale phase. If the unit that caused the most hits has a marker for a morale test they may remove it.

Morale Phase

This Phase replaces the Eliminating Units phase

Players take it in turns to test the morale of any units they have with a marker showing a morale test is required. This is done by rolling 3D6 and comparing the result with the number of hits the unit has taken so far. Knights and Men at arms add 2 to the roll, Artillary, archers and Skirmishers minus 2 from it. If the result is greater than or equal to the number of hits the test is passed and the unit remains in play, remove the marker before the start of the next turn. If the result is less than the number of hits taken the unit breaks and is removed from play.

Army Morale Checks

Once both players have finished testing morale count the number of units each force has in play. If a players force contains less than 6 units they must take an army morale test.

To do this roll 1d6 + an extra 1d6 per unit of Knights or Men at arms the player still has on the table. If  the result on any single dice is less than or equal to the number of units that player has on the table the test is passed.  If the result is greater than that number on every single dice the army breaks and is removed from play, that player looses the battle as his army heads for the hills!.

Where both players have to check army morale in the same turn both roll all their dice at the same turn. If both players fail the test the player that rolls the lowest total on all his dice rolled breaks, his opponent wins a pyrrhic victory. Where the totals are tied both players break. The battle is a draw.


2) The Battle of Stremleys Pile...or rules for large scale dust ups!!.

A larger scale ding dong!.

Use the rules in the Medieval section with the following changes.

Army Organization

Armys are made up of 3 Battles each made up of at least 6 points worth of troops. Units within a battle deploy within 2 inches of at least one other unit of the same battle. This no longer applies once the game starts.

Sequence of play

1; Both players roll 1d6, the player who rolls highest is player A this turn, the other player is Player B this turn.

2; Player A chooses one of his battles and carries out either a movement phase or a shooting phase with that battle. 

3: Player B chooses one of his battles and carries out either a movement phase or a shooting phase with that battle.

repeat 2 and 3 until all battles have carried out a movement or shooting phase. Once a battle has taken its chosen phase it may not take another this turn.  

4; Hand to hand combat phase

5: Morale phase

Movement rules remains unchanged.

Shooting rules remain unchanged with the exception of Archers no longer adding +2 to their attack dice.

If a unit recieves hits from shooting they must have a marker placed next to them to show they need to make a Morale check in the morale phase. Units only ever recieve one such marker per turn.

Hand to hand combat remains as written except both sides roll attacks at the same time in each combat.  The unit in each combat that recieves the most hits that turn must  have a marker placed next to them to show they need to make a Morale check in the morale phase. If the unit that caused the most hits has a marker for a morale test they may remove it.

Morale Phase

This Phase replaces the Eliminating Units phase

Players take it in turns to test the morale of any units they have with a marker showing a morale test is required. This is done by rolling 3D6 and comparing the result with the number of hits the unit has taken so far. Knights and Men at arms add 2 to the roll, Artillary, archers and Skirmishers minus 2 from it. If the result is greater than or equal to the number of hits the test is passed and the unit remains in play, remove the marker before the start of the next turn. If the result is less than the number of hits taken the unit breaks and is removed from play.


Army Morale Checks

Once both players have finished testing morale count the number of units each force has in play. If a players force has lost a battle this turn they must take an army morale test.

To do this roll 1d3 + an extra 1d3 per remaining battle that contains Knights or Men at arms the player still has on the table. If  the result on any single dice is less than or equal to the number of battles that player has on the table the test is passed.  If the result is greater than that number on every single dice the army breaks and is removed from play, that player looses the game as his army heads for the hills!.

Where both players have to check army morale in the same turn both roll all their dice at the same turn. If both players fail the test the player that rolls the lowest total on all his dice rolled breaks, his opponent wins a pyrrhic victory. Where the totals are tied both players break. The battle is a draw.

So thats basically it. As i said before im often found tinkering with these rules so i will try to post any more changes if and when i remember them. 

Hope this was in some way helpful.

Tuesday, August 18, 2020

The battle of Stremleys Pile

  Today I would like to delve into another of the many battles that made up the 1335 2nd war of the massive faux pas. The introduction and 1st battle can be found Here and Here respectively.

 After the disastrous pummeling his forces received at Rippletons Mound the lord of Bolted Crevice determined to bring the Lords of Dawkinsholme to battle once more. He did this through the means of fighting a series of spoiling raids along the borders of the two territories combined with an endless barrage of rude letters designed to insult and goad his enemies into marching. These letters are among the newly found material  recently discovered by prof D.D. Flattitude that shed new light on the conflict. Among the nuggets of (non)information not really found are the following:

'The Lord of Steppindale is without doubt the most odious little insect in Lummoxshire, even lord Ingale of Bottomly gate gets more birds than him and he's dead!!'. Sent on the 3rd of June.

'Lord Carsinday smells like the rear end of a Burkinshire cow, which must be why his wife married him, heard mentality!.' 16th June.

'Lord Specly is the son of a diseased pig with stupid clothes and the common sense of Duke Lagathorde of Kibblesworth....but none of the looks. 21st June.

'Lord Balforth is a twat' 14th, 22nd, 24th, 27th and 29th of June. Also sent on the 2nd, 9th, 12th and 17th of July.

 It seems his campaign of 'terror' bore fruit as on the Lords of Dawkinsholme combined with a large contingent of Spantalian mercenaries (hired and personally lead at great expense by Lord Balforth) set forth to put the upstart Lord in his place. For his part the Lord lead his forces to meet them at Stremleys pile.

The field of battle

The field of battle

 As with Rippletons Mound I have used my 2mm medieval forces to recreate the battle. My 2mm forces use a colour coded system to identity them:

The army colours are Blue for Bolted Crevice and White for Dawkinsholme.

The unit colours are:

Knights: Gold

Men at arms: Silver

Leve: Red

Archers: Green

Cavalry: Yellow.

As with the previous game I will be using One Hour Wargames by Neil Thomas (heavily modified by myself). In this game I have gone BIG so decided to split the forces into three 'battles' just like real medieval armies. These activated alternately driven by an initiative roll each turn. I promise I will post my modified rules soon.

The forces arrayed for battle, Bolted Crevice at the top and Dawkinsholme at the bottom.

The forces of Bolted Crevice deployed as follows

Lord Crabbidge lead the left battle consisting of 3units of Archers and 3 of Leve.

Lord Stratle lead the main battle of 3 Leve and 2 men at arms


To the rear Lord Phalappe command the reserve battle of 2 Knights and 2 Cavalry ordered to only commit to the battle once the main lines clash.

In response Dawkinsholme deployed thusly:

Lord Cravages battle held the right made up of 3units of knights and 2 units of Cavalry.

Lord Braffads battle of 3 Archers supported by a unit of Leve stood ready to take the hill.

On the left the main battle lead by Lord Balforth and his Men at Arms supported by 5 units of local and mercenary Leve.

The view along the Dawkinsholme Battle line just because.

And the opposition line for the sake of it.

The battle got underway with Braffad's archers marching up the hill.

On the Dawkinsholme right Balforth and Stratle advanced on each other.

Cravage ordered the Dawkinsholme horse forward to smash the enemy flank.
Right into a storm of arrows unleashed by the Bolted Crevice bowmen!.

First blood to the men of the Crevice!. (Dice display damage, skulls show units that require a morale test).

Rightfully pi**ed off at being constantly being called a tw*t Balforth orders the charge!.

As does Cravage!!.

The situation as it nears elevensies. 

From here the battle descend into a grind as units became bogged down in combat. Depending on your view point this is either pretty historically accurate as the battle became a game of who can break who first or just really boring. I personally loved it as units beat on each other until ones nerve gives way creating gaps in the line ready to be followed up, victorious units smashing into the flanks of already hard pressed enemy formations. You get a real sense of heaving battle lines pressing on each other. However that being said it wasn't without its tactically decisive moments:

As Cravage makes headway against Crabbidge Phallape orders the reserve Crevice horse into the enemy flank.


Causing the opposition to began to crumble!.


Braffads archers watch from the hill taking pot shots at unengaged enemy troops.

Seeing the issue Lord Phallape orders his cavalry to dislodge them!. Que one suicidal head long charge into the enemy position!.

The grind between the infantry continues.

The forces of Dawkinsholme begin to waver!.

Casualties among the knights began to reach alarming levels.

Having seen off Cravages' horse Phallape orders his knights into the enemy infantry!.

The position as afternoon tea looms.

The situation on the hill becomes increasingly grim for Braffords troops. 

So grim in fact they decide to leg it!.

With Brafford and Cravage having fled the field Lord Balforth realizes the battle is lost and with great annoyance leads the remaining forces of Dawkinsholme in retreat.

The field of battle belongs to Bolted Crevice!.


Friday, August 7, 2020

The battle of Rippletons Mound

My last post gave details of the really very exciting find by Prof D.D.Flatitude changing our understanding of the cause of the 1335 2nd war of the massive faux pas. The documents he uncovered not only challenge the current belief that the lords of Dawkinsholme were the aggressors in the situation but paint the temperament of the 19th lord of Bolted Crevice in a wholy different light!. If you have yet to read that post please do so as it comes with added context!.

  My intention for this blog being to catalogue the battles of Olde Albilande throughout its history i thought i would begin by using the new infomation to refight the first true engagement of the war, namely Rippletons Mound, using my 2mm medieval collection.

The battlefield, the titular mound in the top left.

  The battle saw the forces of Bolted Crevice allied with the Troops of Dripping Tipp and Wrippin Pines advancing on the Mound that was occupied by the sheriff of Dawkinsholme along with allied troops from Blotchy. The intention of the Lord of Bolted Crevice being to take the mound and surrounding area to force a path to Dawkinsholme itself.

 To play out the battle i will be using a modified version of these rules:

 Basically i am using the medieval rules (with added dark age cavalry) with a mucked about with turn sequence, simultaneous combat and unit and army morale rules. I will post my version of these rules soon. As stated above i am using 2mm forces for this game. To help with unit identification i use painted  base edges to show which army they belong to (blue or white) and what type of troops they are:
Heres a unit of Knights demonstrating the above.

 The unit in the picture is facing forwards, so as you see the unit on the table the painted edges will be at the rear. As you see them in the pictures throughout the game the army colour will be on the right rear edge and the unit type will be on the left. Speaking of which the unit types are as follows:

Knights: Gold
Cavalry: Yellow
Men at arms: Silver
Leve: Red
Archers: Green

The forces deployed for battle, The army of Dawkinsholme at the top (white) and the army Of Bolted Crevice at the bottom (blue).

 The Knights of Bolted Crevice deploy on their left behind a screen of cavalry.

 The center is held by units of Leve.

 Archers anchoring the right.

 The mound held by Dawkinsholme archers and men at arms, cavalry in reserve.

More Men at arms and Leve hold the ground in the center.

 The battle began with the entire Bolted Crevice force advancing towards the enemy.

Blue Cavalry advance on the mound.

In response the Dawkinsholme archers peppered the enemy knights with arrows while the reserve cavalry charged a unit of their opposite numbers.

First blood!! (dice denote damage, skulls show a morale test is required)

To hamper the enemy attack further two units of leve were ordered forward to cut them off!
Scupperidge ho!!.

Undeterred the knights continue the advance!


While the battle lines clash!

 Like so.

 Leve charge cavalry at the base of the mound.

Causing the horse bothers to break and flee!!.

 As do the other unit on the far left.

 The Knights attack the archers on the mound, The Sheriff of Dawkinsholme leads his men at arms against one units flank!.

In the center no quarter is offered, let alone given!.

 Until it is!.

 On the mound the flanked knights flee.

Making life rather hard for the remaining unit!.

 Soon they too are broken, ensuring the mound remains in Dawkinsholme hands.

Seeing the final nobility leg it the rest of their army decide to do likewise, the field belongs to Dawkinsholme!.

 As we know this was far from the end of the matter despite the decisive nature of the victory, but that is for next time.